FM8 Tutorials
How to Use the FM8 Morph Feature
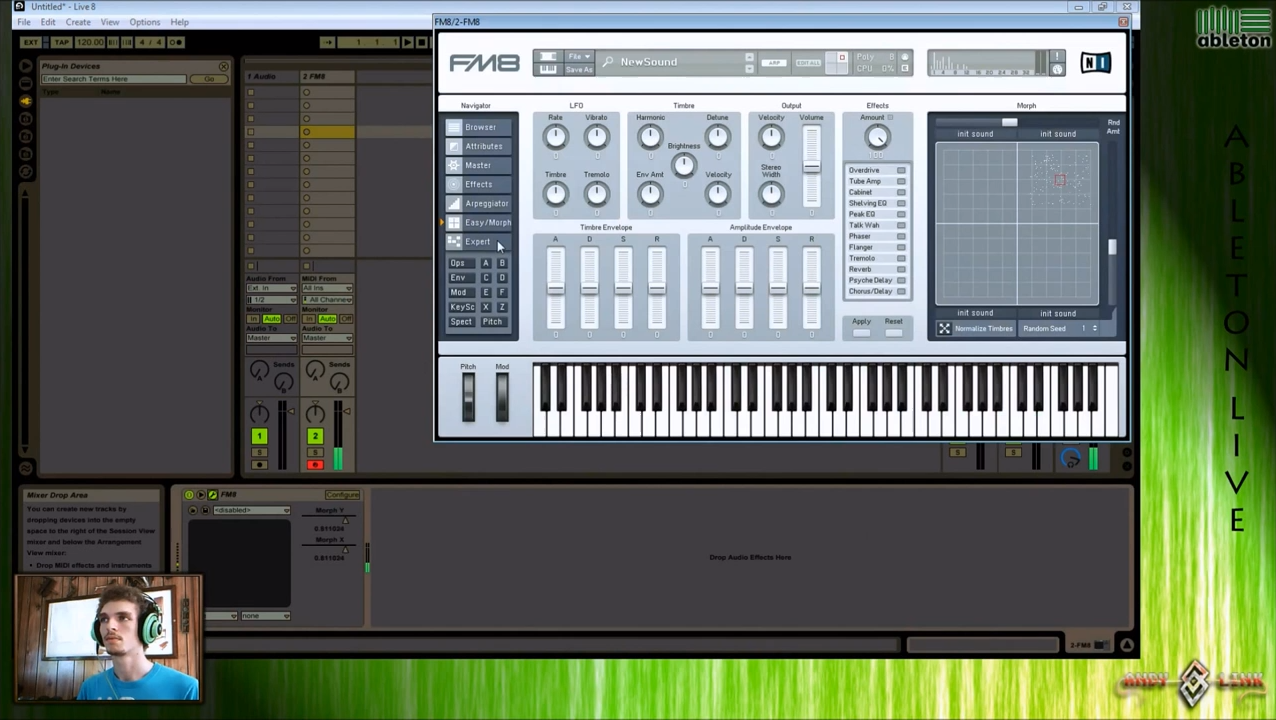
There is more than one way to use the FM8 Morph feature, and we have discussed a couple of them already here. But, today’s featured tutorial shows how to use it on the fly and assign a MIDI controller to make it even more useful!
This video is very easy to understand and easy to follow, which is great because not too many people have been producing tutorials to help people use the FM8 Morph feature. It remains one of the most unique and powerful features of this powerhouse synth from Native Instruments and it’s a shame that more people who are designing sounds for modern popular music genres do not take advantage of it more often. If you have limited yourself to only using the Morph feature with presets, you will love seeing that it is just as easy to use it while designing new sounds from scratch, as well.
Putting this incredible tool to good use is as easy as clicking in the Morph Matrix to activate the mapping feature and then setting up a sound in the FM Matrix. Once you have assigned the first sound to a quadrant, you can being loading up another. You can have a total of four sounds loaded at any one time. You ca blend and morph between sounds by using the two sliders on the morph matrix. These sliders control the amount randomization amount that it applied to the sound, dependent upon where the morph target happens to be in the matrix. Each of these sliders can easily be mapped to a MIDI controller, as shown in the video towards the end. You can also use Random Seed parameter to adjust the size and shape of the randomized seed cloud that the morphing tool draws sound from.
Once you begin to use the FM8 morph feature in your sound design sessions, you will begin to see a whole new side of your sounds. Perhaps you’ll even discover some things you never expected while following along with this video!
Do you have a tutorial request or would you like to share one of your own? Let us know by sending us a message today. Thanks for stopping by!
Cheers,
OhmLab

 YOUTUBE